You can create quick, balanced lunches that satisfy picky children and busy adults by focusing on simple swaps, packable components, and flavor-packed yet healthy ingredients; this guide shows you time-saving techniques, adaptable recipes, and storage tips so you can prepare varied meals that save time, please different tastes, and support better nutrition for your whole family.
Key Takeaways:
- Prioritize simple ingredients and quick assembly to satisfy both picky kids and time-pressed adults.
- Combine protein, whole grains, and colorful fruits or veggies for balanced, appealing lunches.
- Offer build-your-own options and easy swaps to accommodate preferences and dietary needs.
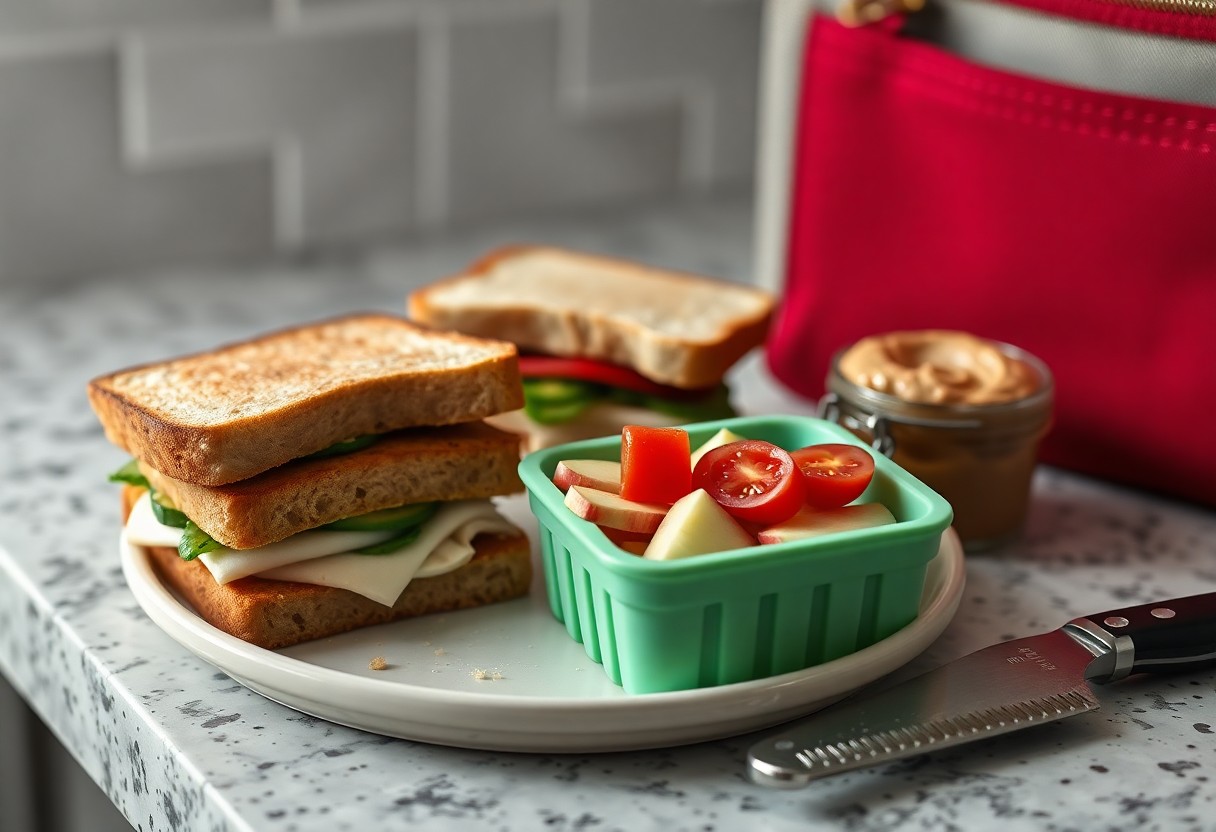
Quick and Easy Sandwiches
You can build a variety of handheld lunches in under 10 minutes using simple ingredients: two slices of bread or a tortilla, 2-3 fillings like deli meat, cheese, or hummus, and one crunchy element such as sliced apple or lettuce. Aim for three components-protein, vehicle, produce-to create meals that deliver roughly 15-25 g protein and 30-40 g carbs depending on your choices.
Classic Peanut Butter and Jelly
Use 2 tablespoons peanut butter and 1 tablespoon jam on whole-grain bread to balance flavor and fiber; swap natural peanut butter to cut added sugar. You can add 1/2 sliced banana or thin apple slices for texture and an extra 2-4 grams of fiber, then cut into fun shapes to entice picky eaters.
Turkey and Avocado Wraps
Layer 2-3 ounces (60-90 g) sliced turkey, 1/4 mashed avocado, a handful of spinach, and a sprinkle of shredded cheddar on a 10-inch whole-wheat tortilla; add a squeeze of lemon and 1 teaspoon Dijon for brightness. Then roll tightly and slice in half so you have a portable lunch that usually totals about 350 calories and 20-25 g protein.
To prevent sogginess when prepping ahead, spread avocado on the tortilla then add turkey as a barrier, or place a strip of lettuce between wet ingredients and the wrap; store in an airtight container and chill up to 24 hours. You can swap turkey for grilled chicken, add sliced cucumber for crunch, or use a yogurt-based dressing to lower sodium while keeping bold flavor.
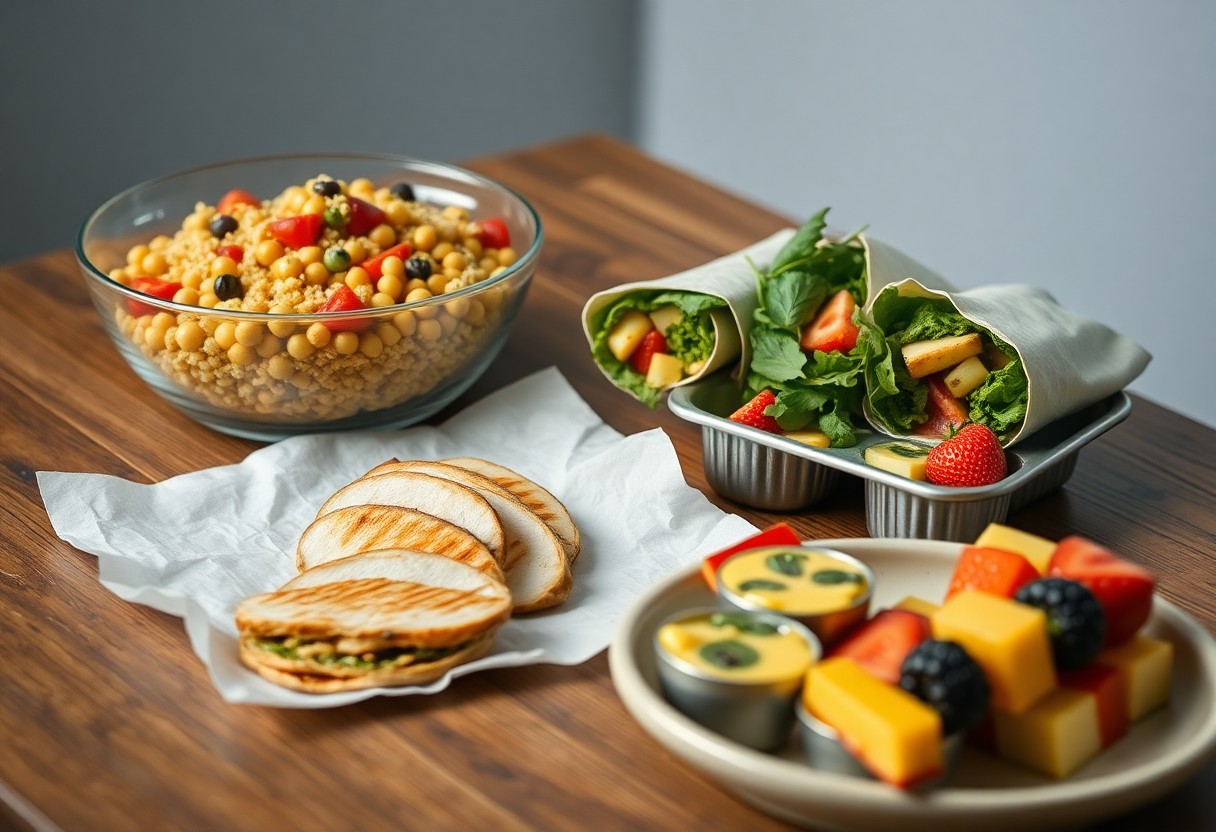
Creative Salads for All Ages
You can turn salads into complete lunches by combining 3-5 elements: a leafy base, a grain or pasta, a protein, a crunchy item, and a flavorful dressing. For example, mix 2 cups spinach, 1 cup cooked quinoa, 4 oz grilled salmon, ¼ cup toasted seeds and a lemon vinaigrette for two servings; visual contrast and bite-sized pieces help both kids and adults eat more willingly.
Rainbow Pasta Salad
Cook 8 oz pasta until al dente, then toss with 1 cup diced bell peppers (mix red, yellow, green), 1 cup halved cherry tomatoes, ½ cup corn and ½ cup dressed chickpeas; stir in ½ cup light Italian dressing and 2 tbsp chopped basil for about 4 servings. You can add 8 oz diced grilled chicken or 1 cup mozzarella cubes to raise protein and keep hungry kids satisfied.
Chicken Caesar Salad
Assemble with 4 oz cooked chicken per person, 2 cups chopped romaine, 2 tbsp Caesar dressing, 1 tbsp shaved Parmesan and a small handful of croutons for crunch. You can plate it deconstructed for selective eaters or fully tossed for adults; adults often like extra black pepper or anchovy, while kids prefer milder dressing and smaller, bite-sized chicken pieces.
If you grill or sear chicken, cook to 165°F (74°C); a 4‑oz breast typically needs about 3-5 minutes per side on a hot grill, then rest 5 minutes. Store components separately and refrigerate up to 3 days; keep dressing off greens until serving. For swaps, use a yogurt-based dressing or omit cheese for dairy-free needs, and add quinoa or whole-grain croutons to boost fiber and satiety.

Fun and Nutritious Bowls
Switch to bowls when you want balanced lunches kids will eat: combine a grain, a protein, and two colorful veggies with a sauce for texture and flavor. Aim for 3-4 components-about 1 cup cooked grain, 3-4 oz protein, a cup of veggies, plus a fat like 1/4 avocado-to hit nutrients and portion size. Use meal-prepped bases and quick dressings to cut assembly to 5-10 minutes.
Taco Rice Bowl
For a fast taco rice bowl, layer 1 cup cooked rice, 3 oz seasoned lean ground turkey or 1/2 cup black beans, 1/3 cup corn, diced tomatoes, and 1/4 avocado. Top with 2 tbsp salsa and a squeeze of lime; kids prefer mild seasoning while adults can add jalapeños. If you use leftover rice and pre-cooked protein, assembly takes about 10 minutes.
Quinoa Veggie Bowl
Quinoa bowls pack protein and fiber-1 cup cooked quinoa provides roughly 8 g protein and 5 g fiber-so pair it with 1/2 cup roasted sweet potato, 1 cup steamed broccoli, 1/3 cup chickpeas, and 1 tbsp olive oil or tahini for healthy fats. You can batch-cook quinoa to provide 3-4 ready servings and rotate dressings like lemon-tahini or simple olive oil and lemon.
To keep the quinoa veggie bowl kid-friendly, mix in a small handful of grated cheddar or a dollop of plain yogurt; for adults, add feta, olives, or a tablespoon of pumpkin seeds for extra texture. Cook quinoa using a 1:2 dry-to-water ratio, simmer 15 minutes and let sit 5 minutes-1 cup dry yields about 3 cups cooked. Store components separately up to 4 days and assemble before eating to preserve crispness.

Tasty Snacks to Supplement Lunch
Choose snacks that fill gaps without spoiling appetites: a 1/4-cup portion of nuts or seeds, two tablespoons of nut butter with apple slices, or a hard-boiled egg provide 150-200 calories and lasting satiety. You can mix sweet and savory-Greek yogurt with berries, whole-grain crackers with cheese-or use chilled grapes and cucumbers for hydration and a vitamin boost between lunch and dinner.
Homemade Trail Mix
Combine 1 cup almonds, 1/2 cup pumpkin seeds, 1/2 cup dried cranberries, and 1/2 cup dark chocolate chips, then portion into 1/4-cup servings (~150 kcal each). You can swap almonds for roasted chickpeas or sunflower seeds to avoid tree-nut allergies and cut chocolate to lower sugar. Store in an airtight jar up to two weeks or pre-portion into snack bags for lunches.
Veggie Sticks with Hummus
Cut carrots, cucumber, bell pepper, and celery into 8-10 sticks and pair with 2 tablespoons of hummus (≈60 kcal) for a crunchy, nutrient-dense snack. You can use flavored hummus-roasted red pepper, lemon-garlic, or beet-to entice picky eaters, serve in small silicone cups, and add whole-grain pita triangles for extra carbs and fiber.
To prep weekly, slice vegetables and store in airtight containers with a damp paper towel to retain crispness for 3-4 days; make hummus from 1 can (15 oz) chickpeas, 2 tbsp tahini, 2 tbsp lemon juice, 1 clove garlic, 2 tbsp olive oil and salt to taste to yield about 1 cup. You can boost protein by stirring in 1/4 cup Greek yogurt for creamier dip and extra 3-4 g protein per serving.
Savory Sides to Complete the Meal
You can round out sandwiches and wraps with quick savory sides that add fiber and flavor: roasted vegetables, grain salads, or snackable dips. Try 1 cup roasted broccoli tossed with 1 tsp olive oil and 1/4 tsp garlic powder, or a 1/2-cup quinoa salad with cherry tomatoes and lemon vinaigrette. Many options take 15-25 minutes to prepare and provide 100-200 calories per serving so kids and adults both leave satisfied.
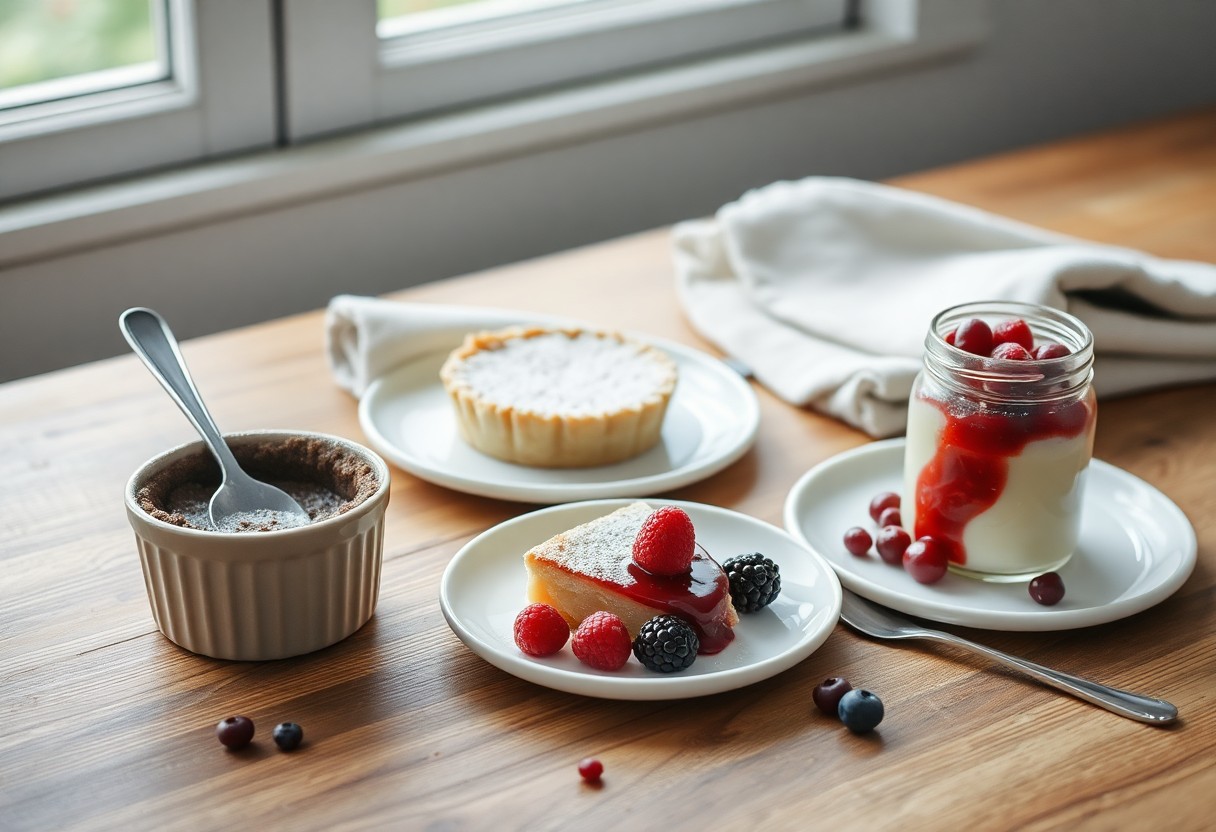
Fruit and Nut Yogurt Parfait
You can layer 1/2-3/4 cup plain Greek yogurt with 1/3 cup mixed berries and 1 tablespoon chopped walnuts for a sweet-tart side with protein and healthy fats. Add 1 tablespoon honey or maple syrup if kids prefer sweeter flavors. Greek yogurt provides roughly 10-20 grams of protein per cup, so these portions boost satiety; assemble jars the night before and refrigerate for a grab-and-go option.
Sweet Potato Fries
You can make crisp sweet potato fries by cutting 2 medium sweet potatoes into 1/4-inch sticks, tossing with 1 tablespoon olive oil, 1 teaspoon cornstarch, and 1/2 teaspoon smoked paprika, then baking at 425°F for 20-25 minutes, flipping halfway. Sweet potatoes deliver over 400% of the daily vitamin A per medium tuber, so these fries add both color and nutrients to lunches kids will eat.
If you want extra crispness, pat the cut fries dry and soak them 30 minutes in cold water to remove starch, then dry thoroughly before oiling; air-fry at 400°F for 12-15 minutes or bake on a single-layer sheet to avoid steaming. You can season with garlic powder, cumin, or a pinch of cayenne for adults. Store leftovers in the fridge up to 4 days and reheat at 400°F for 5-7 minutes to restore crunch; kids often prefer ketchup or yogurt-based ranch for dipping.
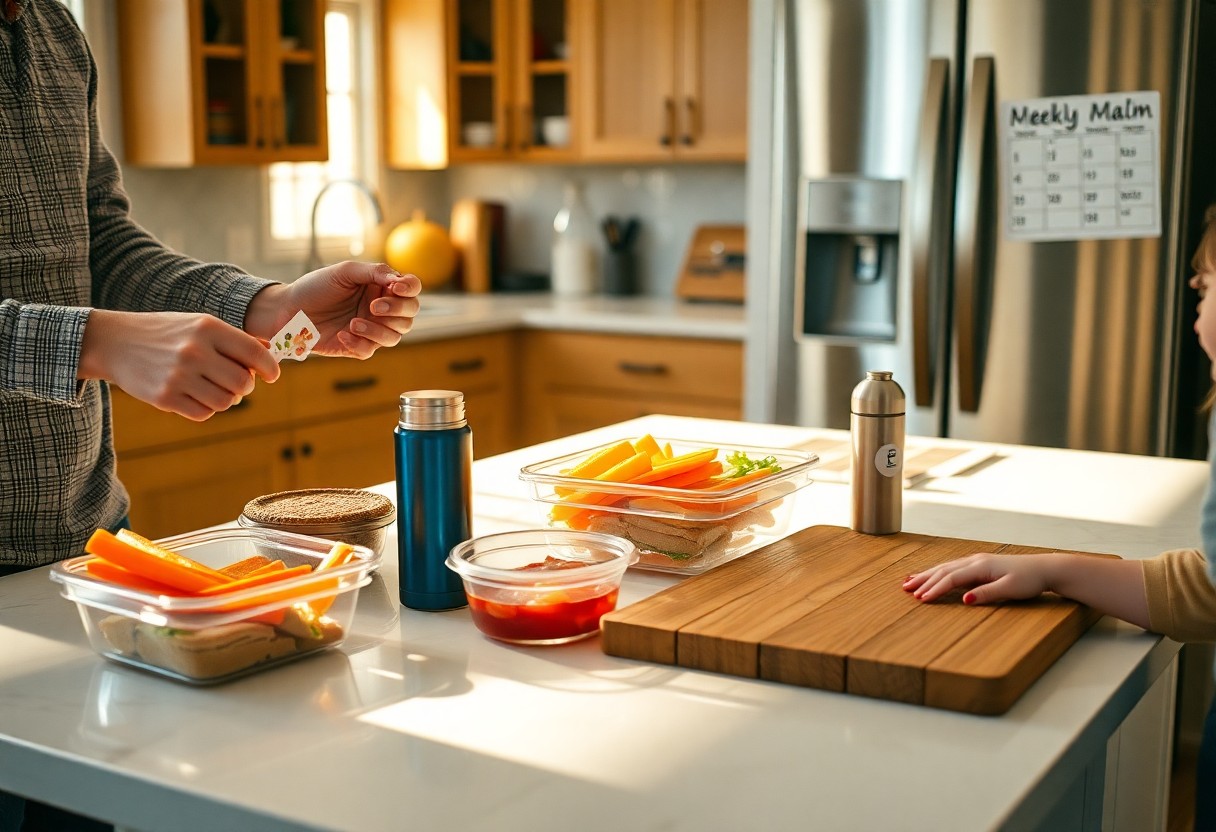
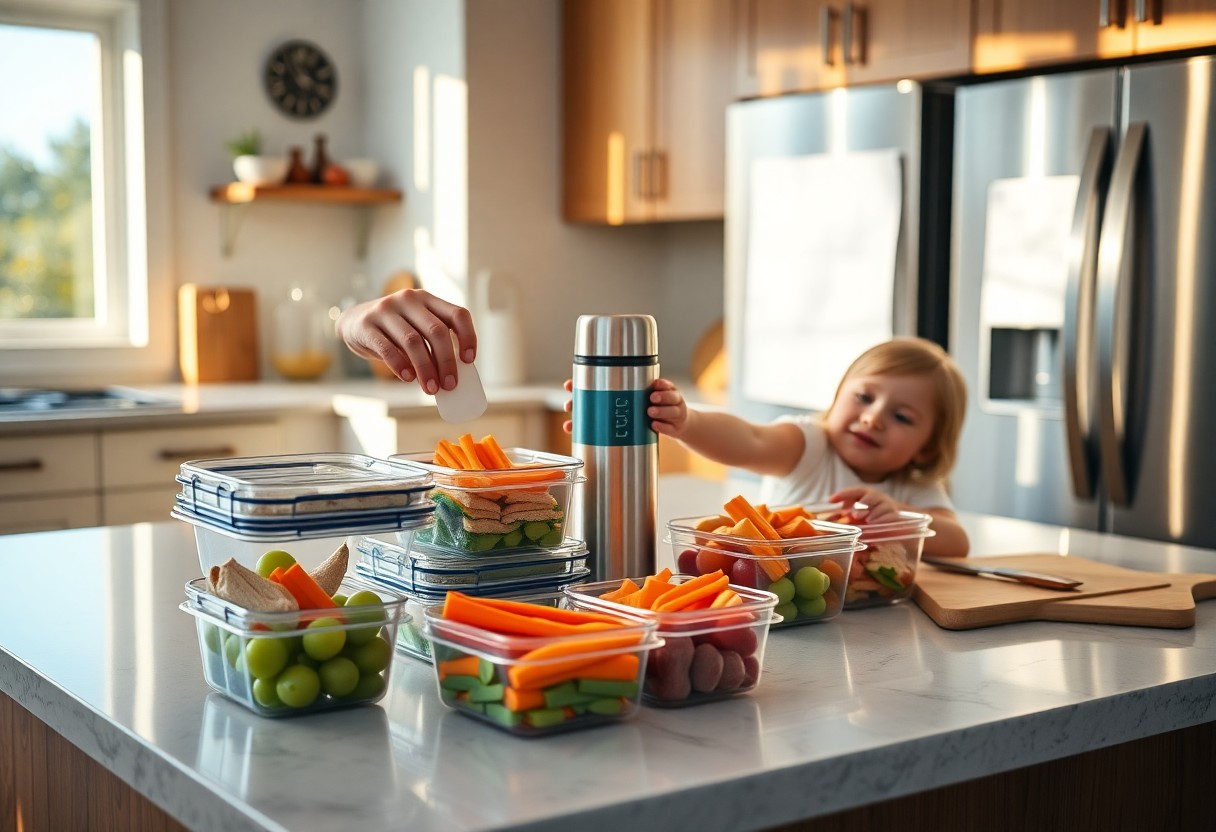
Meal Prep Tips for Busy Families
You can streamline lunches by batching proteins, grains, and vegetables; spend 60-90 minutes on a weekend session to prepare 3-5 days’ worth. Use clear, stackable containers and silicone bags, label with date and contents, and portion into 1-2 cup servings for kids and 2-3 cup servings for adults. Freeze cooked bases in 2-cup portions for up to 3 months, and refrigerate ready-to-eat meals for no more than 4 days. Knowing that swapping sauces and herbs every other day keeps flavors interesting for picky eaters.
- You can cook 2 proteins (chicken, lentils) and 2 grains (rice, quinoa) per session.
- You should portion into individual containers: 1-2 cups for kids, 2-3 cups for adults.
- You can freeze labeled 2-cup portions and rotate monthly to avoid waste.
- You can prep snack packs (veggies + hummus) in 10-15 minutes for grab-and-go.
Batch Cooking Ideas
You’ll save time by preparing a few versatile bases: roast two sheet pans of mixed vegetables and 3-4 pounds of chicken thighs, cook a 4-cup pot of quinoa, and simmer an 8-cup pot of turkey chili to split into 2-cup freezer jars. Mix and match these for bowls, tacos, or pasta during the week and add a different sauce (pesto, salsa, yogurt-tahini) to change the profile nightly.
Storing and Reheating Lunches
You should cool hot foods within two hours, store meals in airtight containers, and keep fridge lunches no longer than 3-4 days while frozen meals hold 2-3 months. Reheat soups and casseroles to 165°F (74°C) and stir to eliminate cold spots; microwaves benefit from covered lids and 30-60 second rests. Label with dates and rotate oldest meals first to minimize waste.
You should pack delicate items like greens or avocado separately and add them fresh at service; store dressings in small leakproof jars to avoid sogginess. Use glass containers for oven or microwave reheats and BPA-free plastic for cold lunches; avoid metal in the microwave. When reheating from frozen, thaw overnight in the fridge or use the defrost setting, then confirm internal temperature reaches 165°F (74°C).
Conclusion
Considering all points, you can consistently create simple lunches that both kids and adults enjoy by balancing nutrition and flavor, involving your family in planning, using versatile ingredients, and prepping components ahead; this approach saves time, reduces mealtime stress, and keeps your meals varied and satisfying.

Leave a Reply