Over the course of a week, you can transform your mornings by prepping breakfasts in advance; you’ll find practical recipes, batch-cooking strategies, storage and reheating tips, and scheduling advice to keep meals fresh and nutritious. With simple systems tailored to your schedule, you’ll leave the house fueled and organized every day.
Key Takeaways:
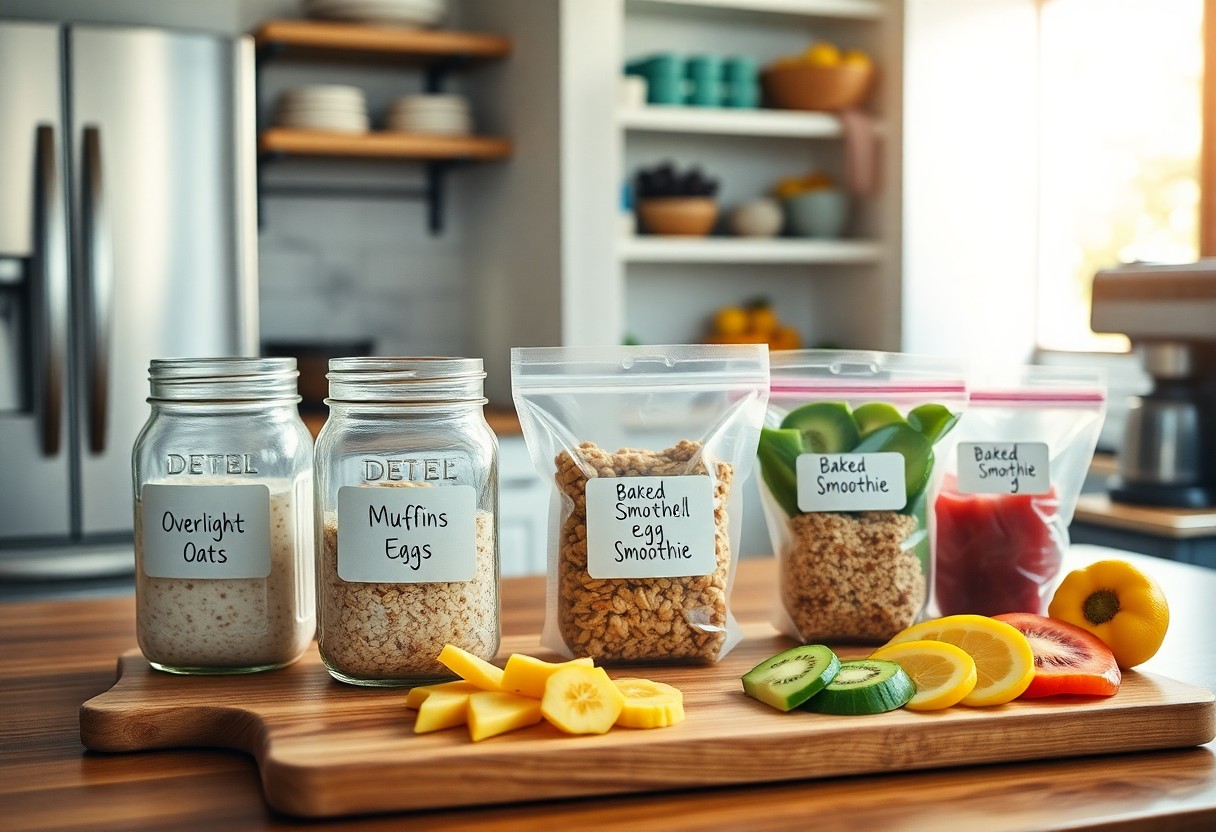
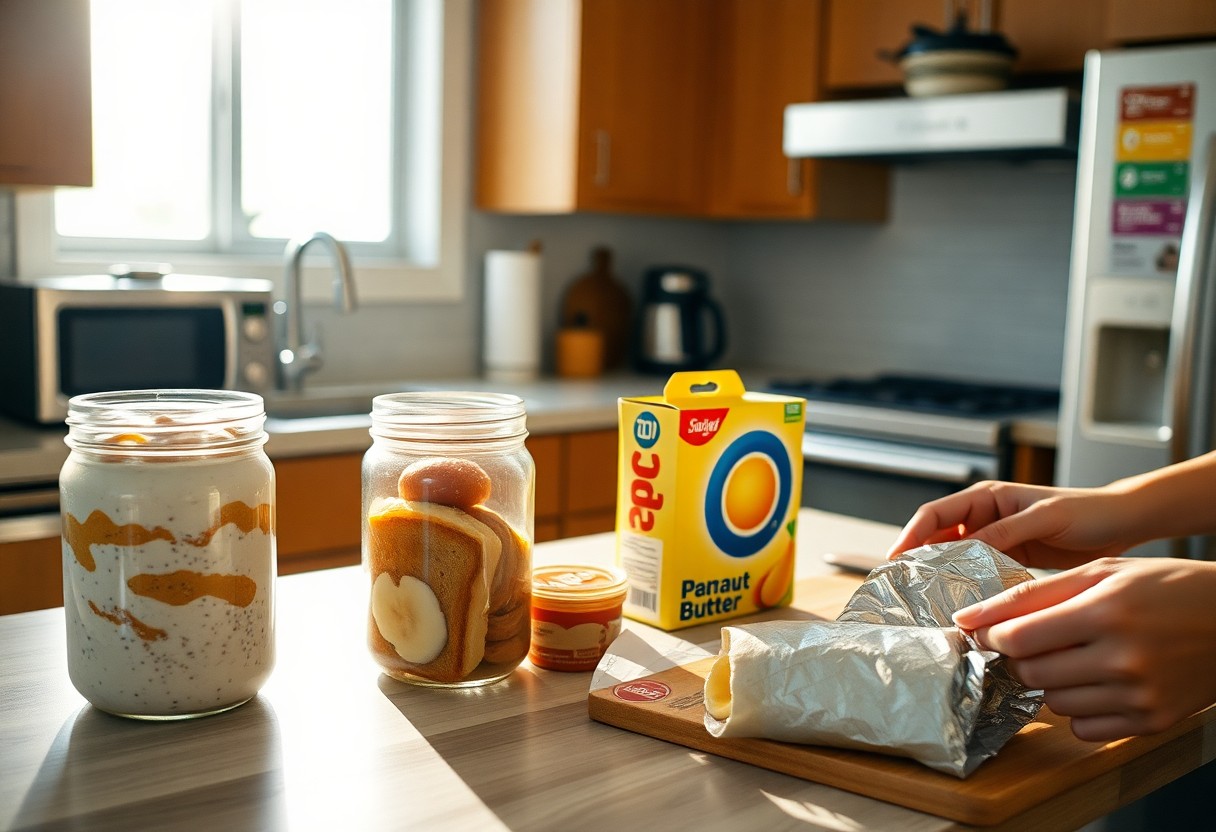
- Prep protein-rich options (overnight oats, egg muffins, yogurt jars) to fuel mornings and cut decision time.
- Batch-cook and freeze portions (breakfast burritos, pancakes, frittatas) for quick reheating and consistent portions.
- Assemble ingredients in labeled containers and set out coffee/oatmeal toppings the night before for true grab-and-go convenience.
Why Make-Ahead Breakfasts?
When you set aside an hour or two on the weekend to assemble overnight oats, egg muffins, and yogurt jars, you reclaim 10-20 minutes each morning and remove decision fatigue. You’ll hit protein goals more reliably-three egg muffins deliver roughly 18-21 grams-and cut food waste by using bulk fruit and frozen vegetables, so weekday mornings run on autopilot without sacrificing variety or nutrition.
Benefits of Planning Ahead
By planning, you can rotate a small set of staples-six overnight oats jars, a dozen egg muffins, and four freezer-ready burritos-so you always have balanced choices. You’ll increase the odds of eating breakfast daily, streamline grocery lists, and ensure 15-30 grams of protein per meal when you include Greek yogurt, eggs, or nut butter, making mornings both efficient and nutritionally consistent.
Time-Saving Strategies
Use sheet-pan baking to make 12 egg muffins in about 20 minutes, batch-cook steel-cut oats in a slow cooker for 6-8 servings, and portion smoothies into single-use jars for quick thawing. You’ll reduce morning prep to simple reheating-30-90 seconds in the microwave-by freezing portions in labeled bags and creating a grab-and-go shelf in your fridge.
Try a simple weekly routine: Sunday-bake egg muffins, jar three nights of overnight oats, and freeze 6 breakfast burritos; Wednesday-top up fresh fruit and yogurt jars. Store cooked items airtight for 4-5 days in the fridge or freeze up to 3 months, then thaw in the fridge overnight or reheat directly from frozen for 1-2 minutes as needed.
Nutritious Overnight Oats
Combine pantry staples for a nutrient-dense jar: 1/2 cup rolled oats (≈5 g protein, 4 g fiber), 6 oz Greek yogurt (≈15 g protein), and 1/2-3/4 cup milk for a balanced base. Add 1 tbsp chia for omega‑3s and extra texture. You’ll get roughly 20-25 g protein per serving depending on dairy choice, and jars keep 4-5 days refrigerated, so you can assemble five breakfasts in one session.
Flavor Variations
You can rotate flavors to avoid boredom: mixed-berry with 1/2 cup berries and 1 tbsp almond butter; apple-cinnamon with a grated apple, 1 tsp cinnamon, and 1 tbsp chopped walnuts; or tropical with 1/3 cup diced mango and 2 tbsp unsweetened shredded coconut. Sweeten sparingly-1 tsp maple or a few drops of stevia-and pack crunchy toppings separately to preserve texture.
Prepping Techniques
Use wide-mouth 8-16 oz mason jars and layer 1/2 cup oats, 1/2-3/4 cup liquid, and any yogurt or add-ins; stir or shake to combine, then refrigerate overnight. You can label jars with date and flavor; they stay fresh 4-5 days. Batch-making five jars takes about 20-30 minutes and saves 5-10 minutes each morning.
If you use different oat types, adapt your timing: steel-cut oats require 12-24 hours soaking or a quick stovetop precook, while rolled oats set in 6-8 hours. You can thicken by adding 1 tbsp chia or reducing liquid by 1/4 cup. To avoid soggy texture, store granola and nuts separately and add them just before you eat.
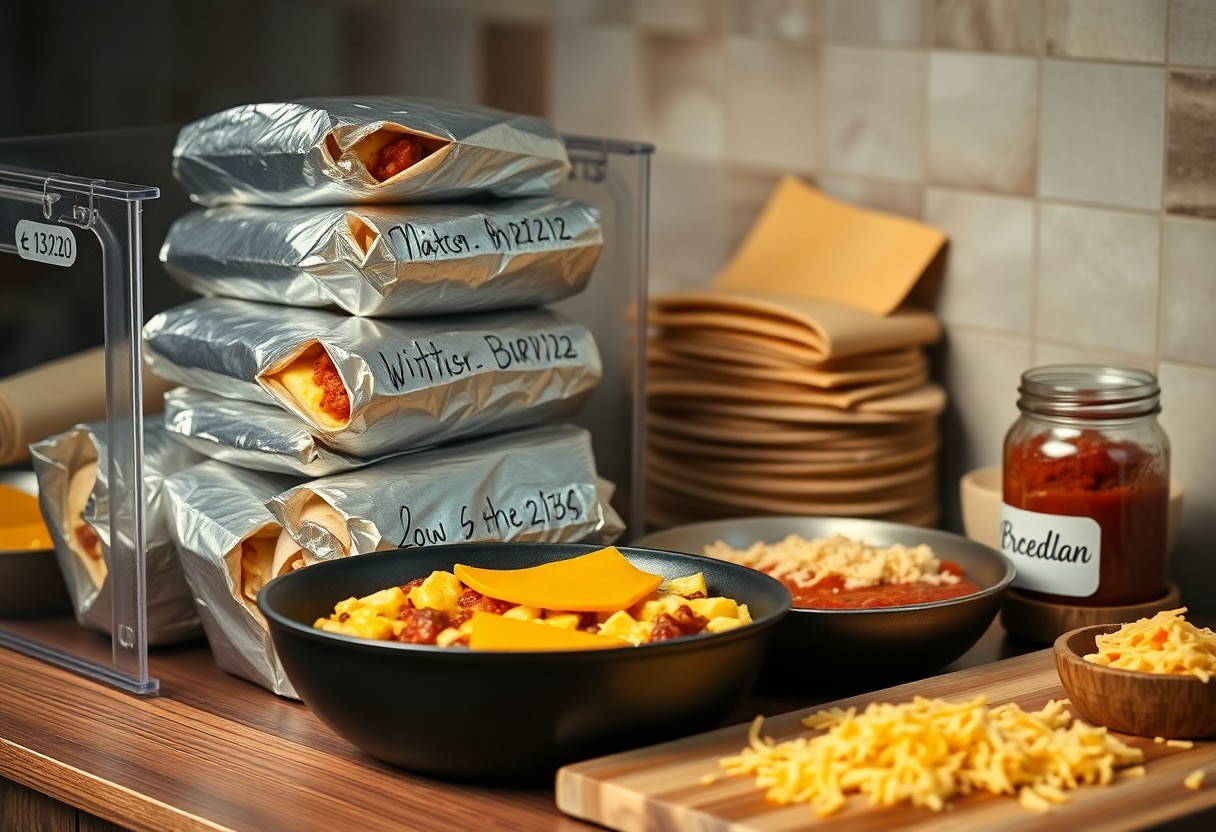
Freezer-Friendly Breakfast Burritos
Make a batch of 8-12 burritos on a Sunday to cover weekday mornings: scramble 12 eggs, cook 1-1.5 lb sausage or 3 cups black beans, and portion 1/4-1/3 cup fillings per tortilla. Wrap each burrito in foil, slide into a labeled freezer bag, and freeze flat for up to 3 months. Reheat from frozen in the microwave 2-3 minutes, then crisp in a toaster oven for 3-5 minutes to restore texture and even heating.
Ingredient Options
Mix proteins like 2 eggs per burrito with 1-2 oz cooked bacon, 2 oz turkey sausage, or 1/4 cup seasoned black beans; add 1/4 cup sautéed peppers/onions and 2 tbsp low-moisture cheese. Use sturdy tortillas (10-12 inch whole wheat or high-heat flour) and avoid high-water fillings like raw tomatoes or avocado that turn mushy after freezing. For a vegetarian option, swap eggs for 1/2 cup firm tofu scramble per burrito.
Cooking and Storing Tips
Cook fillings thoroughly and cool them to room temperature before assembly to limit condensation; warm tortillas briefly to prevent cracking when rolling. Wrap each burrito in parchment then foil, place in a rigid container or flat freezer bag, and label with date. Thaw overnight in the fridge for gentler reheating or microwave from frozen; plan on using within 2-3 months for best flavor and texture.
- Assemble on a clean surface and portion consistently so burritos heat evenly.
- Use vacuum sealing or press out air from freezer bags to reduce freezer burn.
- Flash-freeze on a baking sheet for 1-2 hours so burritos keep their shape in storage.
- Recognizing that timing matters, cool fillings within two hours to stay food-safe.
For quicker mornings, label each burrito with reheating instructions (microwave 90-120 seconds, flip and reheat 60-90 seconds) and include the cook date; you can extend frozen shelf life to 4-6 months with vacuum sealing, though texture declines. Finish in a 425°F oven for 6-8 minutes or toaster oven 3-5 minutes for a crisper tortilla; if you prep for kids, cut burritos in half before freezing so portions defrost faster.
- Keep a simple reheating schedule taped inside the freezer to speed decisions under time pressure.
- Store similar-flavored burritos together-breakfast meat, veggie, and spicy-to avoid flavor transfer.
- Rotate older burritos to the front when restocking to reduce waste.
- Recognizing that textures change over time, choose fillings designed to hold up through freezing and reheating.
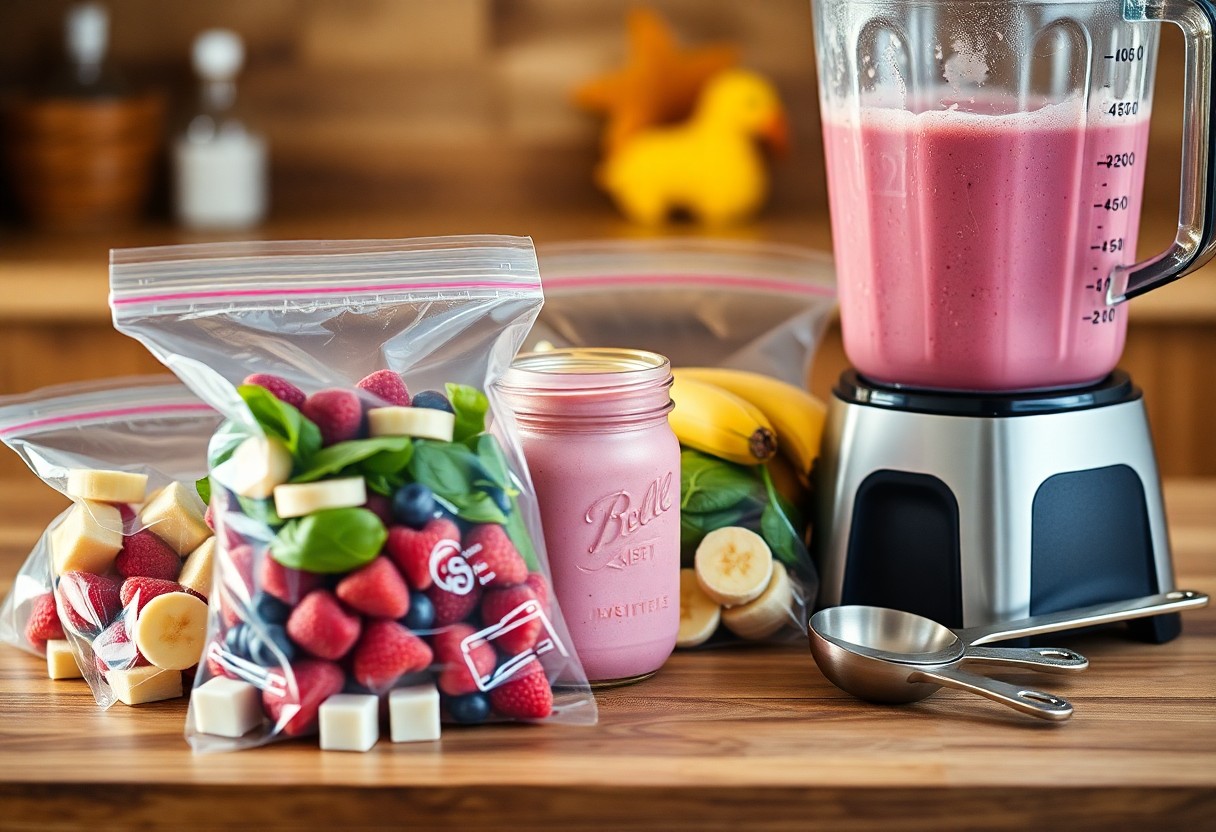
Smoothie Packs for Quick Blends
Assembling freezer smoothie packs saves you 5-10 minutes each morning; you can make seven packs in 20-30 minutes on a weekend. Portion by weight or volume-about 1 cup fruit, 1/2 cup greens, 1/4 cup protein or a scoop, and 1 tablespoon seeds-then label with date and intended liquid. This routine cuts decision time, keeps nutrition consistent, and makes weekday mornings feel orderly even when you have little time.
Combining Ingredients Effectively
Aim for balance: roughly 1 cup fruit, 1/2-1 cup leafy greens, 1/2 cup liquid added at blending, 1/4 cup protein (or 1 scoop), plus 1 tablespoon chia or flax for fiber. Layer softer items like banana or avocado on top of harder frozen berries so your blender handles them evenly. You can also batch packs by goal-energy (oats + banana), recovery (berries + protein), or greens-focused (spinach + avocado).
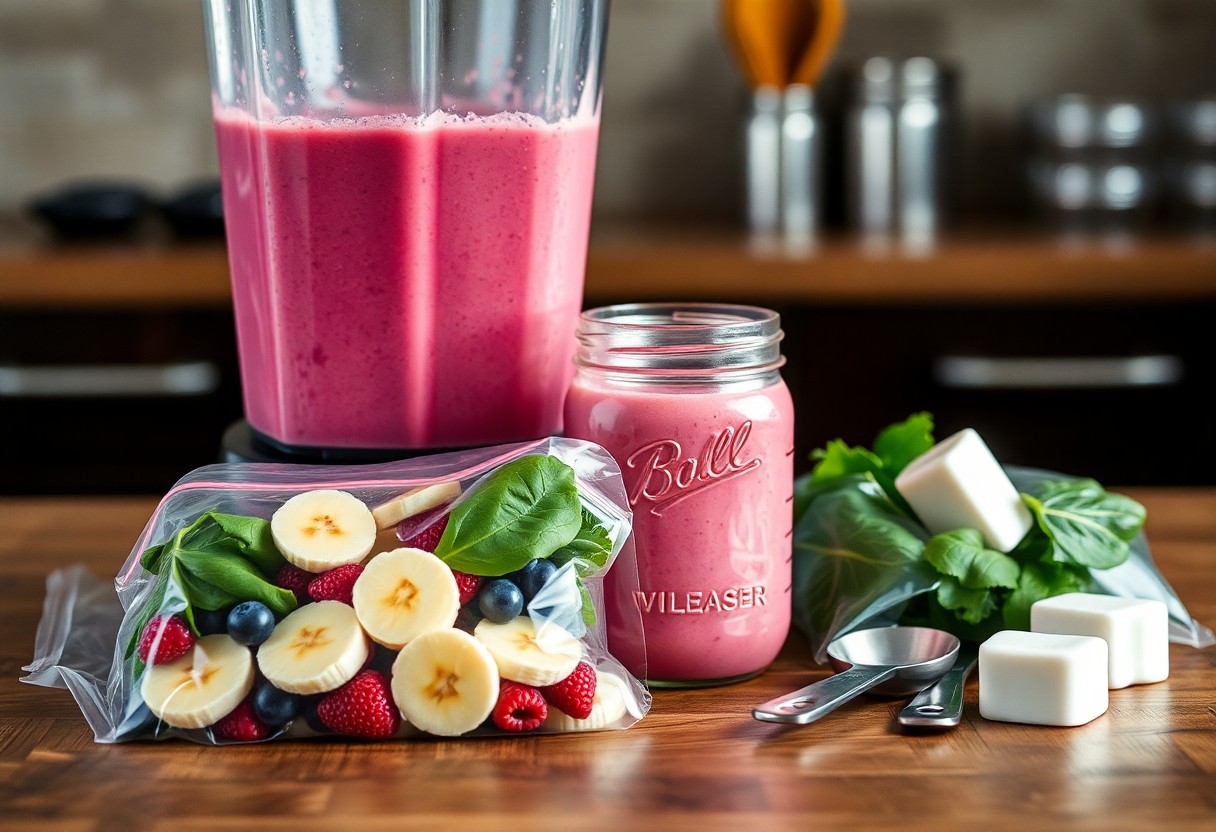
Freezing and Blending Tips
Freeze packs flat in labeled zip bags to save space and encourage quick, even blending; most packs keep best up to 3 months. When you blend, pour liquid in first, add frozen solids, then pulse and finish with 30-60 seconds at high speed-adjust time to your blender wattage (about 600W consumer vs 1,200W high-performance units). Avoid overfilling the jar to maintain optimal blade action.
- Flatten packs to 1/4 inch thickness for faster, even blending.
- Label contents and freeze date so you rotate older packs first.
- Add single tablespoons of nut butter or oats to boost calories without altering texture much.
- Perceiving slight flavor drift after two weeks will help you refine fruit ratios next time.
For a practical formula: combine 1 cup frozen mixed berries, 1/2 frozen banana, 3/4 cup almond milk, 1 scoop protein powder, and 1 tablespoon flax; in a 1,000W blender expect 35-50 seconds total (start low, ramp up). If your blender is 500-700W, pulse in 10-15 second bursts, let the motor rest, then blend longer to avoid overheating; that technique preserves texture and extends appliance life.
- Thaw packs 1-2 minutes at room temperature or slip the sealed bag into warm water for smoother blends.
- Begin on low speed and gradually increase to reduce strain on blades and avoid air pockets.
- Portion single-serve packs around 300-350 g for consistent mouthfeel and nutrient density.
- Perceiving differences between dairy and plant milks will guide whether you add extra fat or protein next batch.
Baked Breakfast Goods
When you batch-bake breakfast items, aim for quantities that map to your week-two dozen muffins or two loaves often cover 5-7 days. Use sturdy recipes like banana, pumpkin, or oat-based bars that freeze well for 8-12 weeks. Freeze on a tray, then bag to avoid freezer burn, and label with date and contents. You can swap mix-ins easily: 1 cup blueberries, 3/4 cup chopped nuts, or 1/2 cup chocolate chips per batch keeps variety without changing technique.
Muffins and Quick Breads
You’ll get the best results with denser formulas: banana, zucchini, pumpkin, and bran maintain texture after freezing. Bake standard pans-12 muffins or a 9×5 loaf-then cool completely before wrapping. Replace part of the butter with 1/4-1/3 cup oil or 1/2 cup yogurt to retain moisture after reheating. For portioning, freeze muffins individually on a sheet for 1-2 hours, then move to a labeled zipper bag.
Storage and Reheating Methods
Store baked goods airtight: fridge for 3-4 days, freezer for 8-12 weeks. Vacuum sealing or double-wrapping in foil plus a resealable bag cuts freezer burn. Thaw overnight in the fridge or at room temperature 1-2 hours for individual items. Reheat muffins 20-40 seconds in the microwave or refresh in a 325°F oven for 8-12 minutes; loaves do well at 300-325°F for 12-20 minutes when partially thawed.
For crisping, you can reheat from frozen in a 350°F oven for 10-15 minutes wrapped in foil for even heat, then open for 2-3 minutes to crisp crusts; toaster ovens work for single servings. Use a damp paper towel in the microwave for 10-20 seconds to prevent dryness, and spread butter or jam immediately after reheating-it restores moisture and flavor quickly.
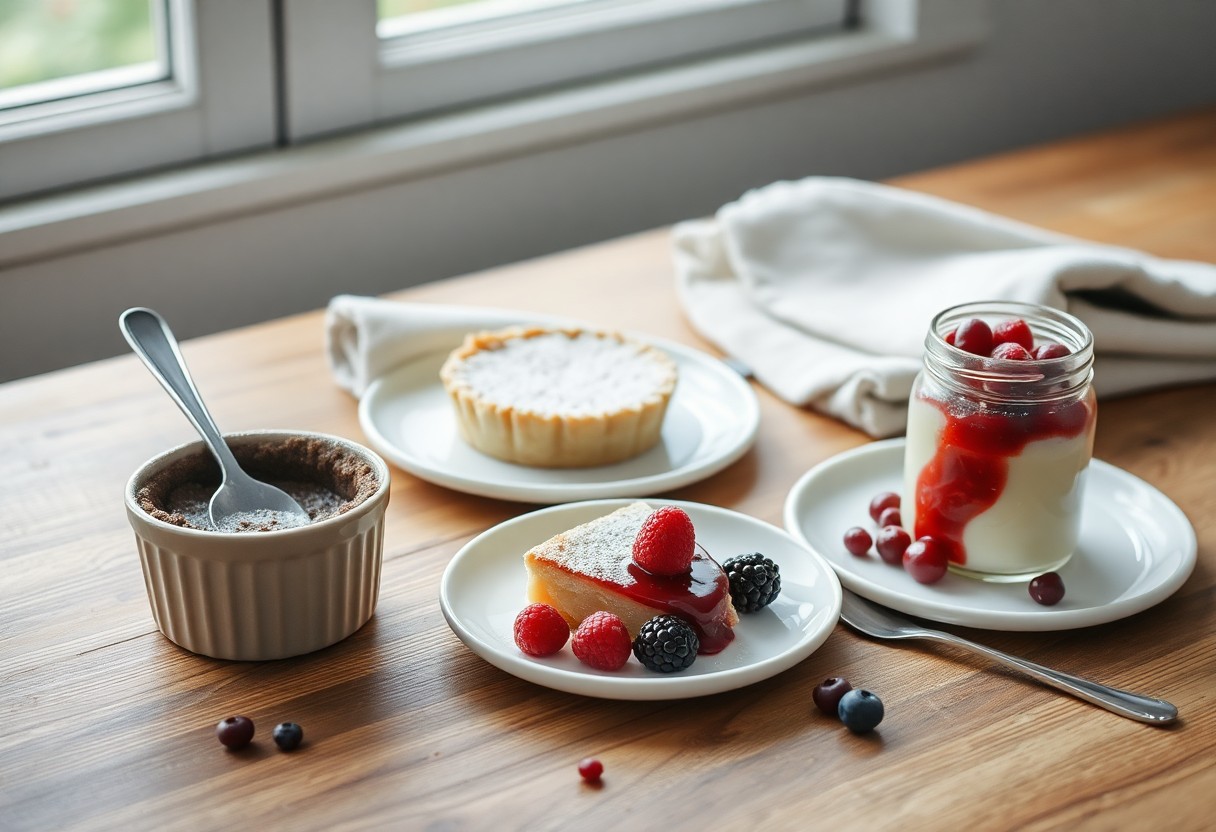
Yogurt Parfaits
Assemble 4-6 jars on Sunday to grab-and-go during the week; 8-ounce jars hold about 3/4 cup yogurt plus toppings, and you can put five jars together in 15-20 minutes. Use plain or Greek yogurt for 12-20 g protein per 6-ounce serving, layer fresh or roasted fruit for vitamins, and keep crunchy granola separate until eating to preserve texture. Store sealed in the fridge for up to 3-4 days.
Layering Ideas
Start with 3/4 cup yogurt, add 1/4 cup fruit or compote, then 1-2 tablespoons of seeds or nut butter for richness; finish with 1/4 cup granola at service. For combos, try Greek yogurt + mixed berries + 1 tbsp chia + lemon zest, or vanilla yogurt + sliced banana + 2 tbsp almond butter + cinnamon. Vary textures and flavors so each jar feels like a different breakfast.
Reusable Containers
Choose 8-ounce or 16-ounce glass jars with tight-sealing lids-8-ounce jars fit a single parfait, while 16-ounce jars let you prep layered breakfasts plus a smoothie topper. Glass is nonporous, dishwasher-safe, and won’t retain odors; BPA-free plastic works for travel but can warp over time. Label lids with dates and stack jars to save fridge space.
For cleaning and longevity, soak metal lids briefly to loosen residue and hand-dry to prevent rust; silicone or plastic lids are best washed on the top rack. A set of 12 mason-style glass jars (8-ounce) usually runs $15-25 and replaces disposables within weeks, reducing weekly waste and recurring cost. If you commute, pick leakproof, wide-mouth containers to prevent spills and make spooning easier on the go.

Leave a Reply